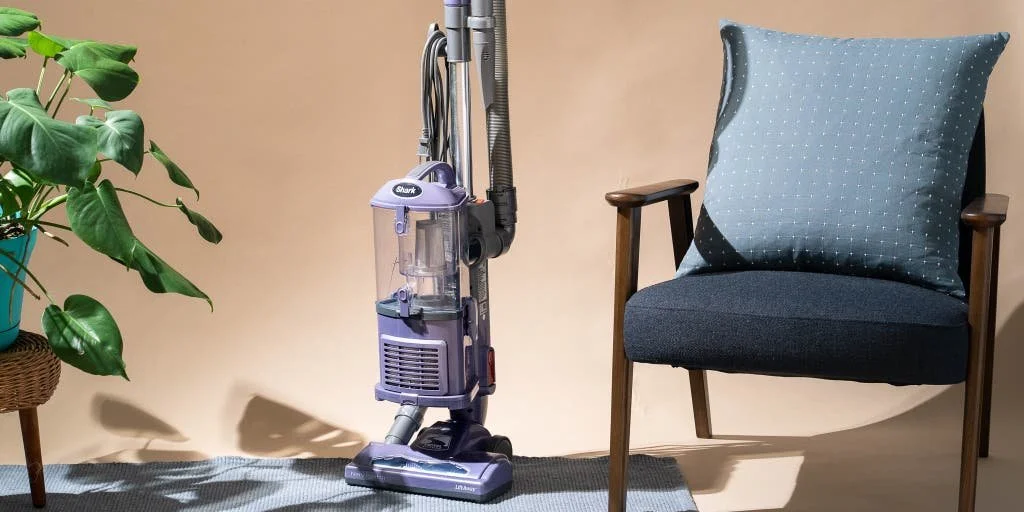
Photo by Sarah Kobos
At Hive Helper, we strongly recommend you allow us to utilize your own hive’s vacuum during our visits. We ask this for a few different reasons, first and foremost being for your household’s sanitation purposes - mold, e.coli, etc. (gross!) are among the nastiest bacteria found in vacuums in this 2008 study by researchers at the University of Arizona.
Info like this makes you want to throw out your vacuum and pick up the old fashioned broom again, right? Well, all you need to do is put in a little elbow grease to clean your vacuum every now and then to eliminate germs that build up over time!
If you’re in need of a new household vacuum, we highly recommend the Shark line of vacuums, (this one in particular is the ultimate work-horse of vacuums in our opinion!) they are hard-working and long-lasting in our professional experience!
For a video breakdown of cleaning your vacuum, check out this video.
1. After every use: Clean the Brushes and Bristles
After each use, check all the brushes and bristles to ensure there’s no trapped debris or hair stuck to them. If there’s any hair or loose strings wrapped around a brush, don’t pull it: Use a pair of scissors to cut it out instead. Next, spray the brushes with a disinfectant spray to sanitize.
2. Every Use: Empty the Vacuum Canister
According to the Vacuum Experts, rather than allowing your vacuum canister to fill up all the way, try emptying it out every single time you use it. At the very least, “empty the vacuum once it reaches half to two-thirds of the way full as a matter of habit,” a Vacuum Experts blog post recommends. This way you’ll be tossing out any potential germs or bacteria before they have time to take hold in your vacuum. By emptying the canister you’ll also be helping boost your vacuum’s performance.
3. Once a Month: Check and Clean the Filters
Vacuum filters replacement should be apart of your yearly routine, but they should be checked and cleaned on a monthly basis. Check your vacuum manual to see where each filter is located and how to detach it properly. Then, if it’s washable, just remove it, rinse and ring out. Lay it out to let it fully dry for 24 hours before using.
4. Once a year: Completely Disassemble Your Vacuum to Deep Clean
While you need to clean the individual parts more often, the Vacuum Experts say it’s also a good rule of thumb to take apart the entire vacuum and scrub it down—about once a year. To do so, you’ll need a few things: hot water, dish soap, a cleaning brush, and a can of compressed air.
Start by taking apart all the parts; soak the canister or any other washable parts like attachments. Give them all a good scrub and let them completely dry before putting them back together. Then use the can of compressed air to expel any dust or debris hidden in the nooks and crannies of the vacuum. Don’t forget to wipe down the external parts with a cleaning wipe, too.
5. Every 5 years: Replace Your Vacuum
Very unsurprisingly, a study published in the journal Environmental Science & Technology found that the older the vacuum, the more pollutants it emitted. That means if you’ve got a hand-me-down vacuum from your great aunt it’s probably time to toss it.

