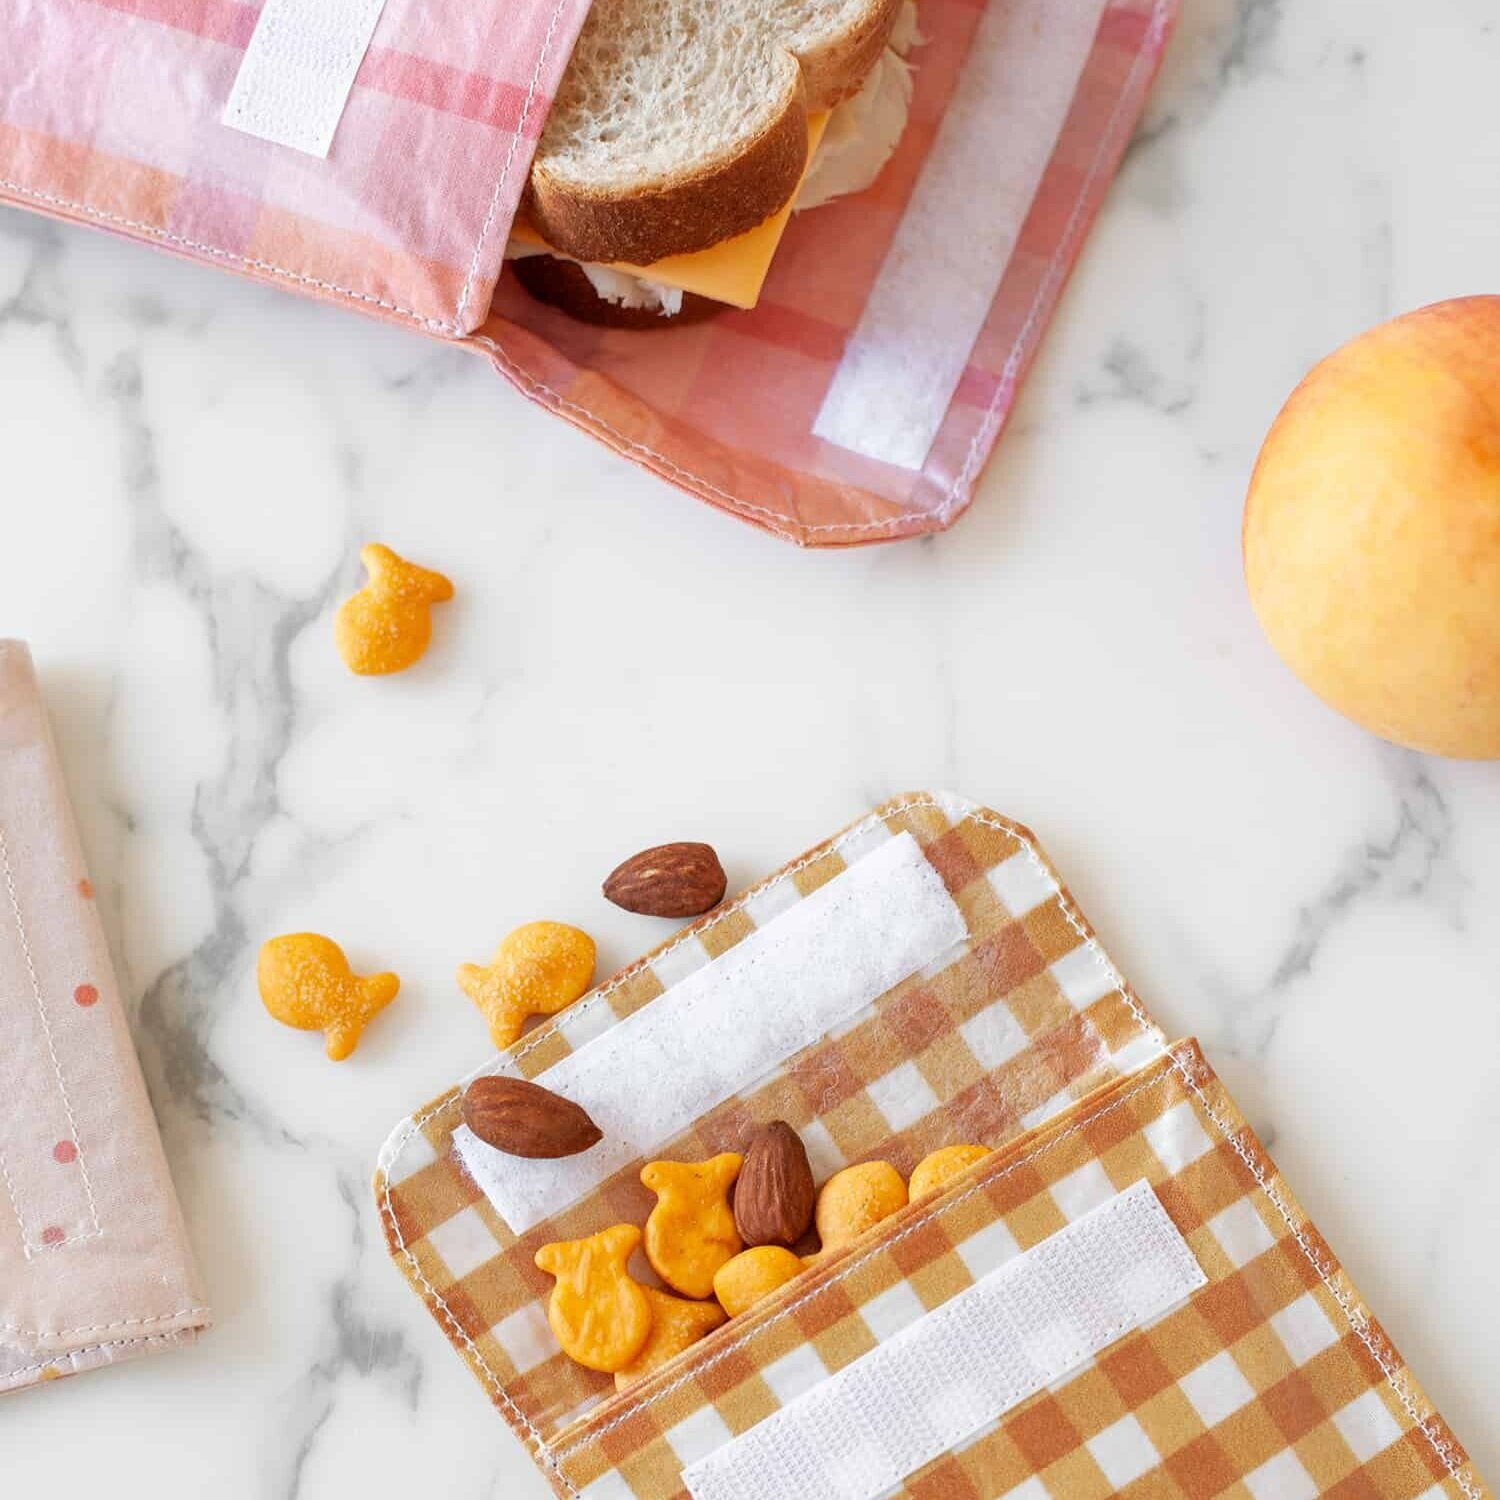
We love these reusable sandwich bags made out of cotton fabric with a vinyl coating to make them durable and easy to clean. They’re perfect for storing simple lunches and on-the-go snacks, and you’ll be surprised at how much waste you cut down on by simply choosing these over plastic disposable bags. Best of all, you can choose the fabric and create coordinating sets if you wanted – so much fun!
Supplies:
–Cotton fabric that has been washed, ironed, and cut into pieces
(two 5″ x 12″ pieces for snack bags, two 7″ x 16.5″ pieces for sandwich bags)
–Vinyl iron-on interfacing
–Hook and loop strips
–Straight pins
-Iron
–Sharp scissors or rotary cutter
-Sewing machine and coordinating thread
Steps 1 and 2
Instructions:
Step One: Cut pieces of the vinyl interfacing to be 1/4″ smaller than your pieces of cotton fabric.
Step Two: Follow the manufacturer’s instructions to fuse the vinyl to your fabric. Be sure your fabric has been washed and ironed before cutting into the pieces you’ll need, as described in the supplies list of this post.
To fuse the vinyl to the fabric, peel off the paper backing, place the vinyl onto the right side of my fabric, replace the paper backing, and press with a hot iron (no steam) for eight seconds. Then, flip the fabric wrong-side-up and press again for eight seconds.
Be sure to keep one of your larger paper backs from the vinyl adhesion process. You’ll use it in step six, and possibly later in the maintenance of your reusable sandwich bags!
Steps 3 and 4
Step Three: After each of your cotton pieces have been coated with vinyl, you’ll want to make rounded corners on one side of each fabric strip. We used round objects from around the house as a template for this.
Step Four: Arrange your fabric pieces right sides together and pin very closely to the edges. You’ll be stitching 1/4″ around the border, so make sure the pin holes will be hidden within that seam allowance. You don’t want to poke holes in the visible vinyl.
Steps 6 and 7
Step Five: Sew along the border of the pinned fabric pieces, removing the pins as you go. Do not sew on the short flat edge. Only sew along the two long sides and the one rounded side. You’re leaving open the non-rounded side to flip the fabric right-side-out.
Step Six: Clip the corners of your rounded edge as shown above, then flip the fabric right-side-out. When you flip your vinyl coated fabric right-side-out, you will heavily crinkle the vinyl in the process. Don’t panic! Simply use a reserved piece of paper backing from the vinyl you used in step two and iron the vinyl (with the paper barrier) to get out the wrinkles. Just be sure not to iron for more than a few seconds, or the vinyl will begin to degrade and come off onto the paper backing. Definitely do not use a hot iron directly on the vinyl!
Step Seven: Close up the open flat edge of your fabric with a simple straight stitch. Then add pieces of hook and loop strips as shown above. We used two straight pins near the edge of each hook and look strip to keep them in place as we sewed them.
Step Eight: Now fold the fabric as shown above and stitch closely to the edge of the fabric to close up the sides of the bag. You’re going to begin by going up the left side, around the top flap, and then back down the right side of the bag.
When it comes to washing these little reusable snack bags, you’ll want to stick with lukewarm water and a non-abrasive sponge or washcloth. Let them air dry then use again and again forever! If your bags ever get really crumpled looking, just use some of the paper from the vinyl adhesive process and iron the vinyl smooth again. Do not use an iron directly on the vinyl.
Tutorial and photos originally from abeautifulmess.com


